No Bunting No Cupcakes
Needlepoint, patchwork and a few other things besides
  • Home
  • Blog
  • Needlepoint know how
  • Gardening
  • Suggestions for craft books / videos / blogs

Green wellies & instructions

1/11/2013

0 Comments

 
Picture
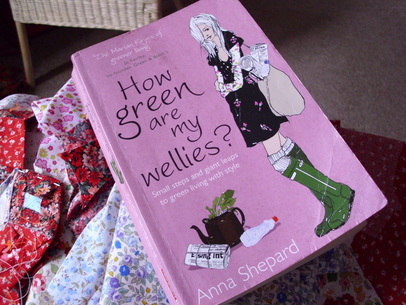
November already.  How did that creep up on us?  I'd say 'Christmas is round the corner' but supermarkets have been plugging that message since - what? - August, September.  They've barely got the Halloween sea of orange and black plastic on the shelves before tinsel and 'Christmas essentials' are given floor space.   It's a sad thought that for many urban dwellers the seasons are mainly marked by what's in the supermarket rather than what's growing in the hedgerow or the moon  and tides.  Anyway, I've got a non-consumerist message to offer in the way of a book recommendation.   'How green are my wellies?' by Anna Shepard.  Borrow it from your local library or you may find  it 2nd hand, it's a fab book for green inspiration.  It's written in a very accessible way, easy to digest and to read through in chronological order or dip into as the whim takes you.   There're sections on recycling, traveling, green weddings, beauty and greening your office.  Some ideas you'll have come across already.  Others will give you that light bulb moment.   
(On the subject of books, I finished the 'Grace' memoir mentioned the other day.  Enjoyed the first half of the book more than the 2nd, but if you a dedicated follower of fashion you might get more out of the name dropping and insider info than me.   :-)  My other problem with the book was the excessive thinness of some models featured.  So gaunt and bony.  I know that's not the author's fault, but she's still part of a business that promotes extreme thinness .)
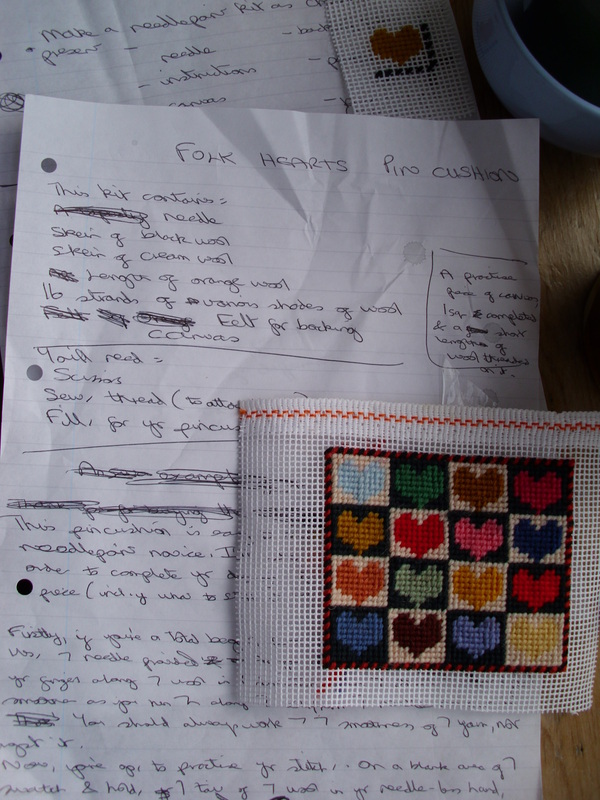
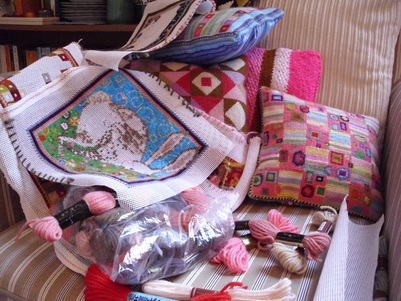
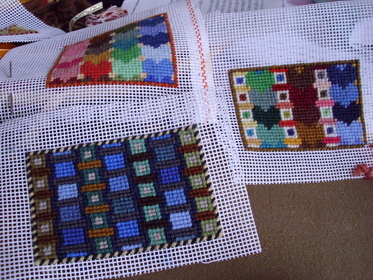
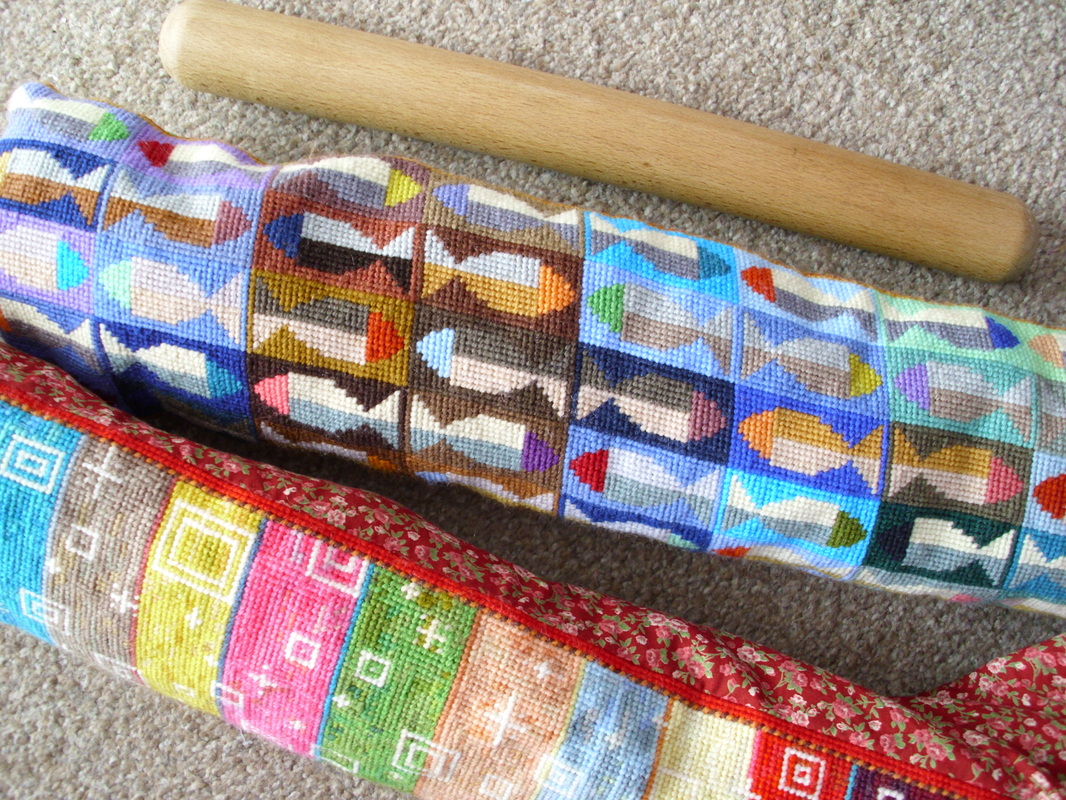
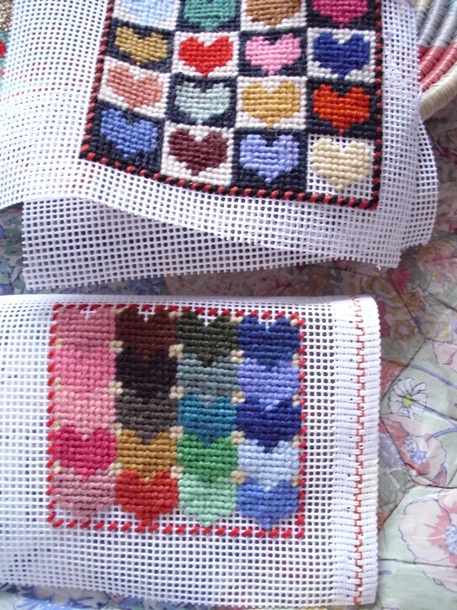
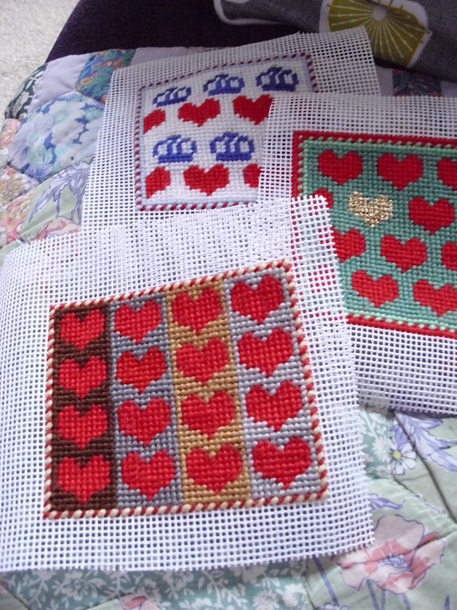
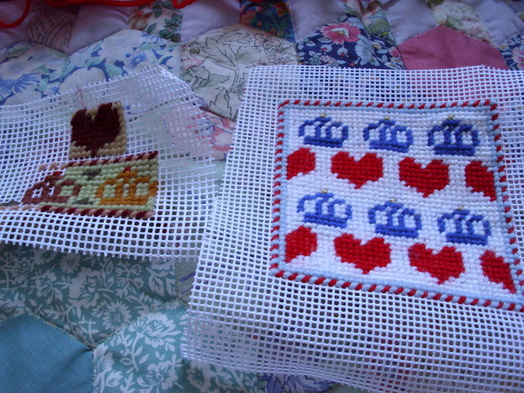
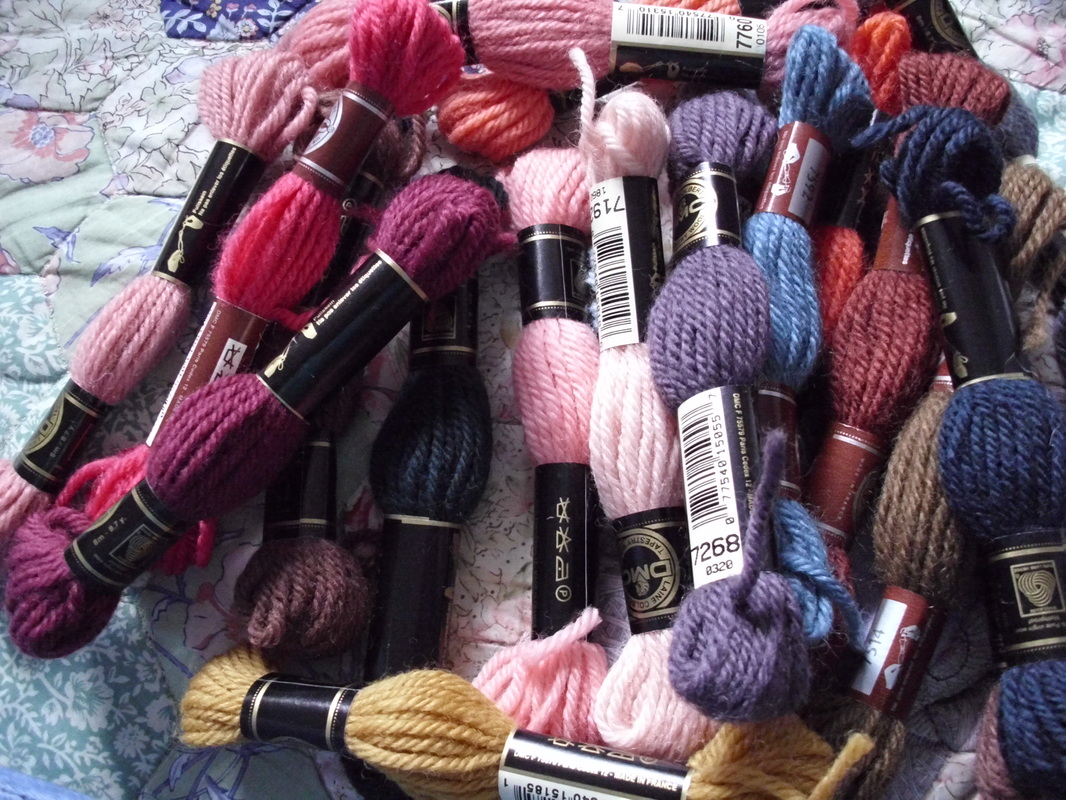
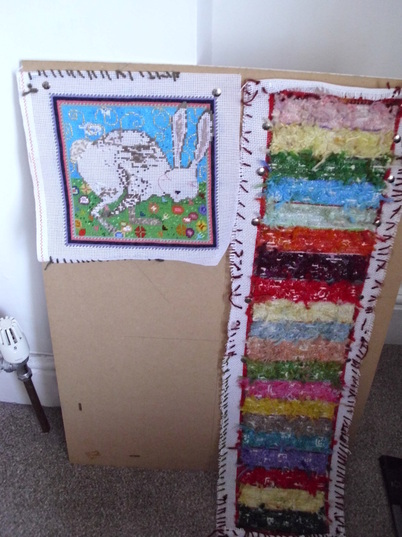
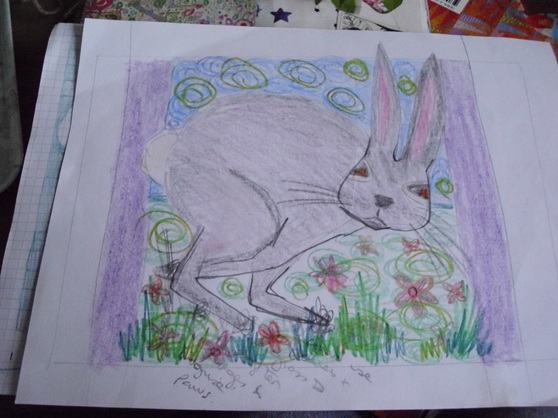
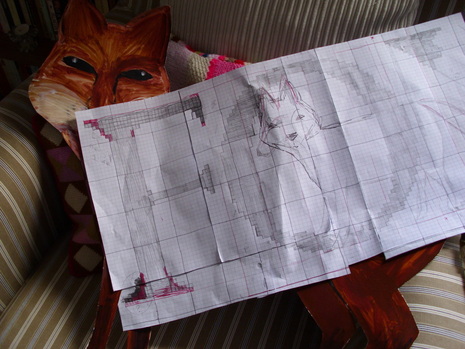
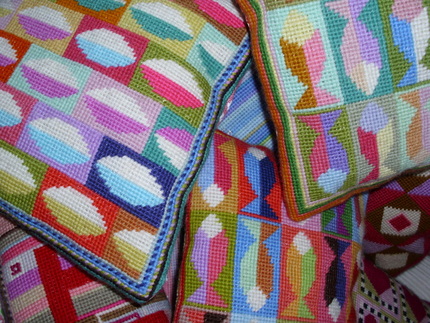
Onto to other things, have you ever tried to write instructions?  Sooo difficult.  Even the how-to for something as basic as a pin cushion is driving me nuts.  It does gives me a new appreciation of needlepoint authors though.  The reason I'm doing this is I'm trying to do a mock-up of a needlepoint kit.  Seeing how much it would cost me to produce, estimating what I'd need to sell it for.   Questions present themselves: should a needle be included in the kit?  Backing fabric too?  The purchaser won't expect a kit to include filling, would they?  Has anyone else tried to make up a needlepoint kit ?   Any tips or knowledge you learned along the way would be much appreciated. 

Picture
0 Comments

After the storm

29/10/2013

0 Comments

 
Picture
  • The St. Jude storm's been and gone, and didn't affect me apart from minor inconveniences.  (Lack of TV reception, being kept indoors for
    much of yesterday due to monsoon like rain.)  However,  reports of people killed by falling trees and a teenage boy having drowned put any little grumbles in perspective.                 
    At least being cooped up indoors forces me to get stuff done!             
 I've sewn the backing on to a couple more draught excluders and am stuffing 'em with filler.  A rolling pin comes in very handy for that.  You can't use anything sharp to force the filler down to the far corners.  Something like a knitting needle would pierce either canvas or backing fabric, but a rounded edged wooden rolling pin is ideal.                                                                                                                           I've also completed a couple more swatches following on from my experiments with heart motifs (see previous posts).   In the last of 'em the heart disappears entirely so the pattern's totally abstract.   In between this I've dug out a piece of patchwork I started ages ago and am - very slowly - adding a few more tumbling blocks to it.  The 3D effect you get is so effective, and I'm pleased with the choice of reds for the fabric.  Makes for a warm and cosy look.   More on that another time though. 

Picture
  • Swatches showing a pattern in development.


Hey!  They don't do this with their rolling pins on the Great British Bake Off. 

Picture
0 Comments

Har har me hearties! 

21/10/2013

0 Comments

 
Picture
No, it's not a pirate themed post, despite the 'har har me hearties!' title.  Sometimes a girl just feels like breaking out into pirate-speak.   ;-)   I'm still harking on the same theme of hearts. 
Making these little swatches is a great exercise.  You can do something similar playing  with coloured pencils and graph paper,  but it's not the same as seeing the stitches. 
As you keep going, you get ideas about developing the pattern, as shown here.  Adding a checkerboard background to the multi coloured hearts makes 'em stand out.  Doing that led to more hearts, but these ones squashed up together.   You're made aware of the space between the motifs - in this case, small squares.  Should they be cream to make them merge into the background?  Or a bright colour to draw attention to their shape? 

As I type this, it's pouring with rain outside.  I'm venturing out for my painting class this afternoon, so fingers crossed it clears up.   Oh well, it's filling the reservoirs and gives me a great excuse for not tending my allotment! 

0 Comments

Have a heart ... or two

20/10/2013

0 Comments

 
Picture
I'm enjoying this theme of hearts, playing around with colour on small swatches of canvas .   This time I put the hearts in lines of 4 and against a wide-striped background.  Initially I stitched the tomato red hearts and added two grey stripes. 
Grey's not a colour I use - or wear - a lot.  Maybe it reminds me too much of dreary school uniforms or rainy cold skies.  It's not a chic colour like black, or an uplifting colour like a zingy citrus shade, for eg.  But grey can be good for backgrounds as it can make a motif stand out.  
With the red and grey in place it took ages to work out what other colours to use. The mustardy yellow and chocolately brown were chosen by trial & error as well as being limited by what wool I've got.  But they were good choices as they warmed up the grey, and I think the end result looks rather pleasing.     That swatch led on to another, not yet completed.  (See photo below)  I'm considering adding a black & white/cream checkerboard background to the multi coloured hearts.  Oui or non?  

Picture
0 Comments

Heart to heart

18/10/2013

0 Comments

 
Picture
I used the hearts from yesterday's needlepoint pattern to create another repeat design.   Using the gold metallic thread definitely gives it some extra zing.  I reckon the combo of tomato red and green goes well together, though I'd have preferred a lighter minty green.  (It was another case of working with the colours I'd got, rather than buying new wool.)   I might try the hearts on a striped background next.  Though I really shouldn't be diverting myself from completing projects already in progress.  Honestly!  I really am the mistress of procrastination.  Anyone else having the same problem?

0 Comments

Red white & blue

17/10/2013

0 Comments

 
Picture
Loitering in the library the other day I came across a book of Fair Isle designs.  While it's designed for knitters, the Fair Isle patterns translate beautifully into needlepoint.  Finding this little crown pattern I had an idea about creating a red, white 'n' blue pincushion. Using the wool I had rather than buying new I limited myself to white, red, a pale and a darker blue, plus a gold metallic thread.  
Useful notes : white is a deadening colour.  Often cream or off-white works better than brilliant white which can be too harsh.  The gold metallic worked better than silver, which just disappeared into the background.  The crown pattern works well viewed close-up, but doesn't translate quite so well from a distance.   I might have another go at the design, and tweak it a bit. 
(The Fair Isle book, by the way, is '200 Fair Isle Designs' by Mary Jane Mucklestone.  Published by Search press.  A lovely publication.)

And finally ... don't these luscious colours make you want to pick up a needle? 

Picture
0 Comments

Some more stitchy stuff ...

6/10/2013

0 Comments

 
Picture
The needlepoint on the right's being stretched back into its original shape, and the half-worked piece on the left is just there for me to contemplate.  I've ran out of the brown tapestry wool for the hare, so need to buy more.  Foolishly I started filling in some areas with other shades of brown either too light or too dark.  I want a dappled kind of effect with the hare's hair, but you have to get the dappling effect right.   Your eye should see the main colour and little pinpricks of other similarly toned colours,  not be distracted by too dark/too light patches.   Difficult to explain without showing photos close up (a blog entry for another day perhaps),  Anyhow, I might need to unpick some areas.  Annoying but sometimes necessary.  It would be even more annoying if I finished the needlepoint but always felt a nagging 'that bit's not right' every time I looked at it. 

Picture
0 Comments

Hare among the flowers

2/10/2013

0 Comments

 
Picture
Because I've not got the right canvas to start my fox design yet - and because I'm flaming well incapable of actually starting a project and finishing it before beginning the next one (sheesh!! So many half finished quilts and cushions ... ) I began a small piece of needlepoint which'll probably be a modestly sized wall hanging.  (Not sure if, once completed, I'll frame it or just back it with fabric.)  It was inspired, if that's not too arty a word, by a book illustration I'd seen in a magazine.  (Top left of page)    I did a very rough sketch, and then just winged it - using what limited colours I've got in my wool basket and hoping it'll turn out how I want it.   I'm using metallic gold thread to give the sky some shimmer, and am even getting ahead of myself - thinking of a different version.  A night sky of dark blue with silver instead of gold.   Then the two versions could hang side by side, a summery day and a moonlit night.   Yup, that's me all over.  Always thinking ahead! 

Picture
0 Comments

That's why I painted a fox!

25/9/2013

0 Comments

 
Picture
A few weeks ago I had some strange urge to paint a picture of a fox.   As you do ....
Using some acrylic paints and the back of an old poster I did a rough painting of Mr Foxy, and added a layered tissue paper tail.  He sat on the floor for several days, then at some point he got stuffed into a cupboard.  There wasn't much practical use for Foxy, but I'd enjoyed making him. 
Anyhoo  ... yesterday I bought 'Crafty' magazine (shouldn't really - supposed to be saving money), and what was inside?  Yup, a competition themed around foxes.   The idea is that you make something that could be featured in the magazine. 
Now, a deadline is always useful for someone as good at dilly-dallying as me.  So I'm trying to conjure up a needlepoint design based on the letters F. O. X. and the creature himself.  I don't usually bother with graph paper when working our patterns, but lettering's tricky, especially working out how many spaces to have between one letter and the next.  It was also a useful exercise when it came to the fox.  At first I had him looking to the left, but realized that seeing him face forward was a more powerful image.  So the basics are there, and I need to buy some canvas  now and get going.    The competition closes in December, so there's enough time if I really push it. 


0 Comments

Some needlepoint know-how

3/9/2013

0 Comments

 
Picture
Most of my needlepoint pieces (the ones that finally get completed!) end up  as cushions.  But, for what it's worth, here's the lowdown on how to make a  needlepoint wallhanging / picture, as requested by Amy.  

Once your needlepoint's stitched, take a good look at the shape of it.  Has  the canvas become distorted from all that handling?  (( remember my first ever  piece of needlepoint, the square that was diamond shaped at the end, I'd tugged  so hard at the wool when I'd worked the stitches.)  If your masterpiece is  obviously mis-shapen you'll need to block it.  

BLOCKING: 

It ain't complicated.  You'll need a piece of board at least an inch bigger  than your canvas all the way round.  I've got an offcut of MDF that I use, plus  a board that used to form the back of a poster clip frame that wasn't needed  when I broke the glass.  It doesn't matter what kind of board you use.  It just  needs to be the kind that doesn't fill your fingers with splinters and is soft
enough to push drawing pins into.  

Put your canvas face down on the board.  Spray the back with water in a fine
mist, or just use a bunched up cloth to dampen it slightly.   Then stretch your canvas back into shape.  I find a quilters ruler quite  helpful here, to make sure my angles are correct.  Canvas is tough, you're  unlikely to rip it.  As you stretch, you pin.  Once your canvas is pinned down,
just leave it alone for a few days.  I generally find this is enough to restore
your canvas's shape, but for extra measure you can also paint the back of the
canvas with wallpaper paste.  I've also tried PVA glue to give a badly distorted
canvas some extra strength when stretched back.  

HANG IT: 

Once you're happy with the shape, cut out a piece of cardboard ever so
teeny-tiny slightly larger than your design.  Lay your canvas face down on the
floor / tabletop.  Place your cardboard on top.  Then fold the canvas edges over
the back of the cardboard and, using a good very strong thread, lace the sides
together.  Think of it as lacing a corset.  You're tucking the unsightly edges
away so from the front all the viewer sees is your lovely design. 


Then it's a case of choosing your backing fabric and - needlepoint face down,
cardboard on the upper side - laying the fabric on the cardboard.  Tuck under
the fabric edges and use dressmaking pins to secure the backing material to the
needlepoint's outer lines.  Stitch into place.  Or glue, if you'd prefer.  

Add a handsome cord or braid around the edges if you wish, and add a loop to
hang the finished piece from.  

I hope that all makes sense.  It's so difficult to write instructions, but if
you're still stuck try the 'how to do it' sections in any of these books:  

'Glorious Needlepoint' by Kaffe Fassett
'Medieval Needlepoint' or 'Romantic Needlepoint' by Candace Bahouth 
'Mary Norden's Needlepoint' by - big surprise! - Mary Norden 
They're all highly recommended by yours truly, and they're all available via Amazon, if
not your local charity shop or library.  Happy stitching!!  


0 Comments

    Valerie

    Hi - I'm a (mumble mumble) year old singleton, living in South West England, in a cluttered flat with too many metres of fabric and too few biscuits in the tin! 

    Archives

    November 2013
    October 2013
    September 2013
    August 2013
    July 2013
    June 2013
    May 2013

    Categories

    All
    Books
    Ceramics
    Needlepoint
    Painting
    Patchwork
    Thrifty
    Yoyo Quilts

    RSS Feed


Powered by Create your own unique website with customizable templates.